Frequently Asked Questions
Mounting & Installation
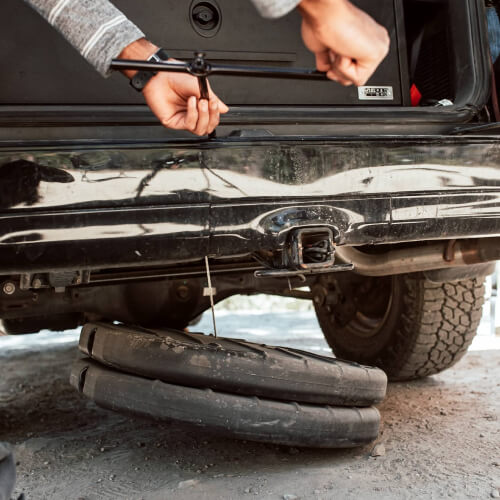
Step 2: Lower the spare tire hoist: Insert the hoist tool through your hitch or bumper opening and turn it counter clockwise to lower the hoist or spare tire. Lower the chain until it reaches the ground.
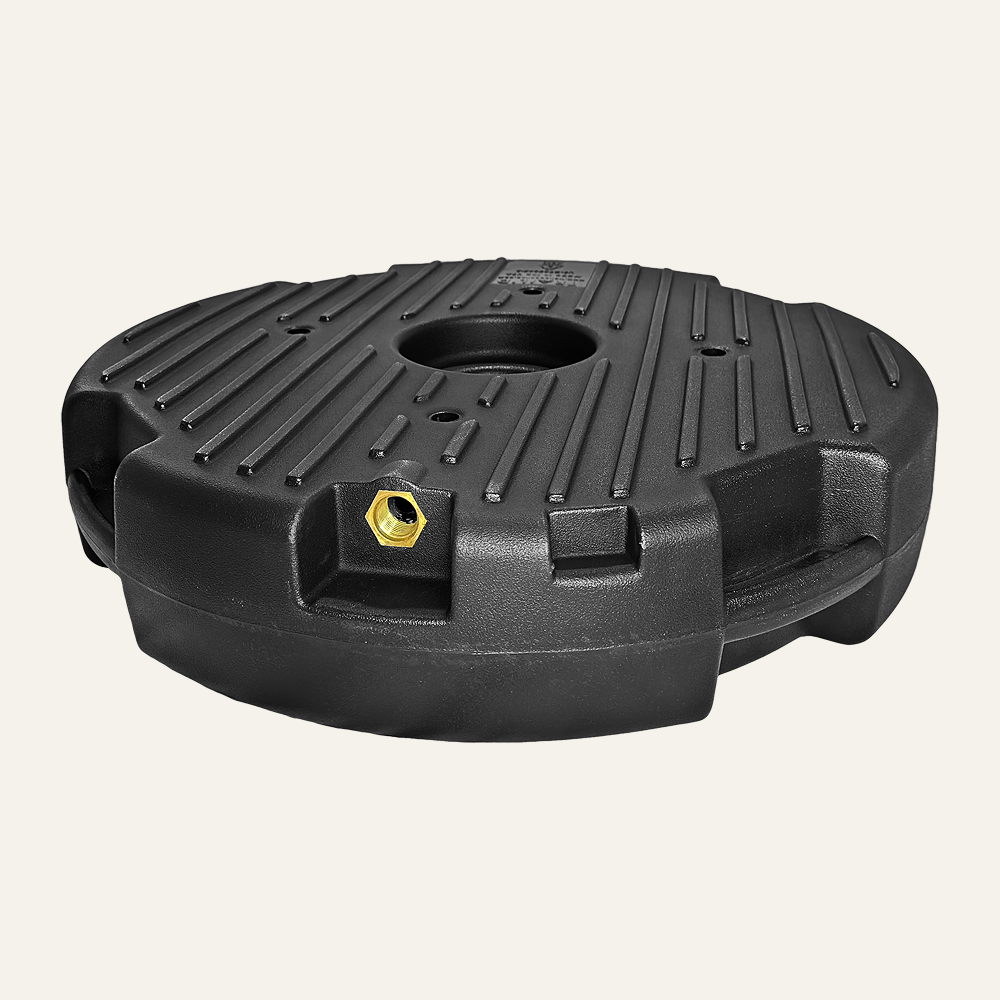
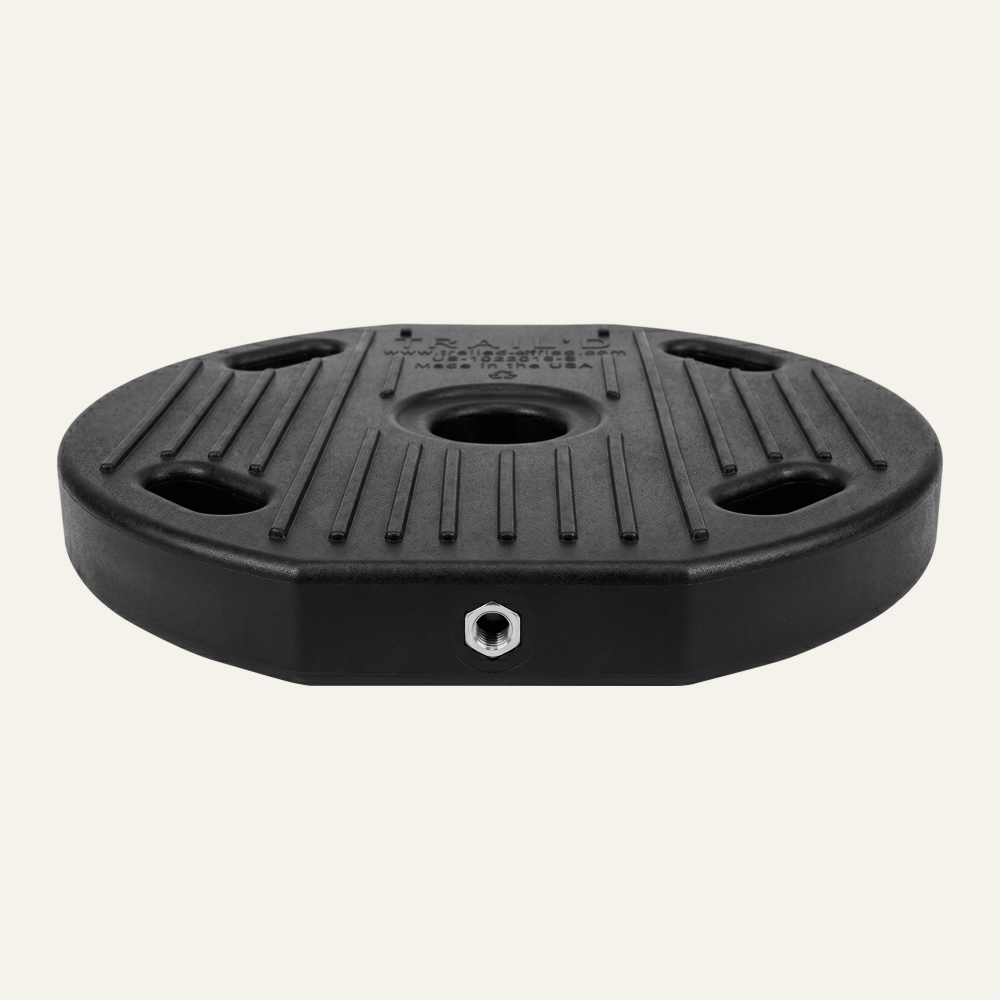
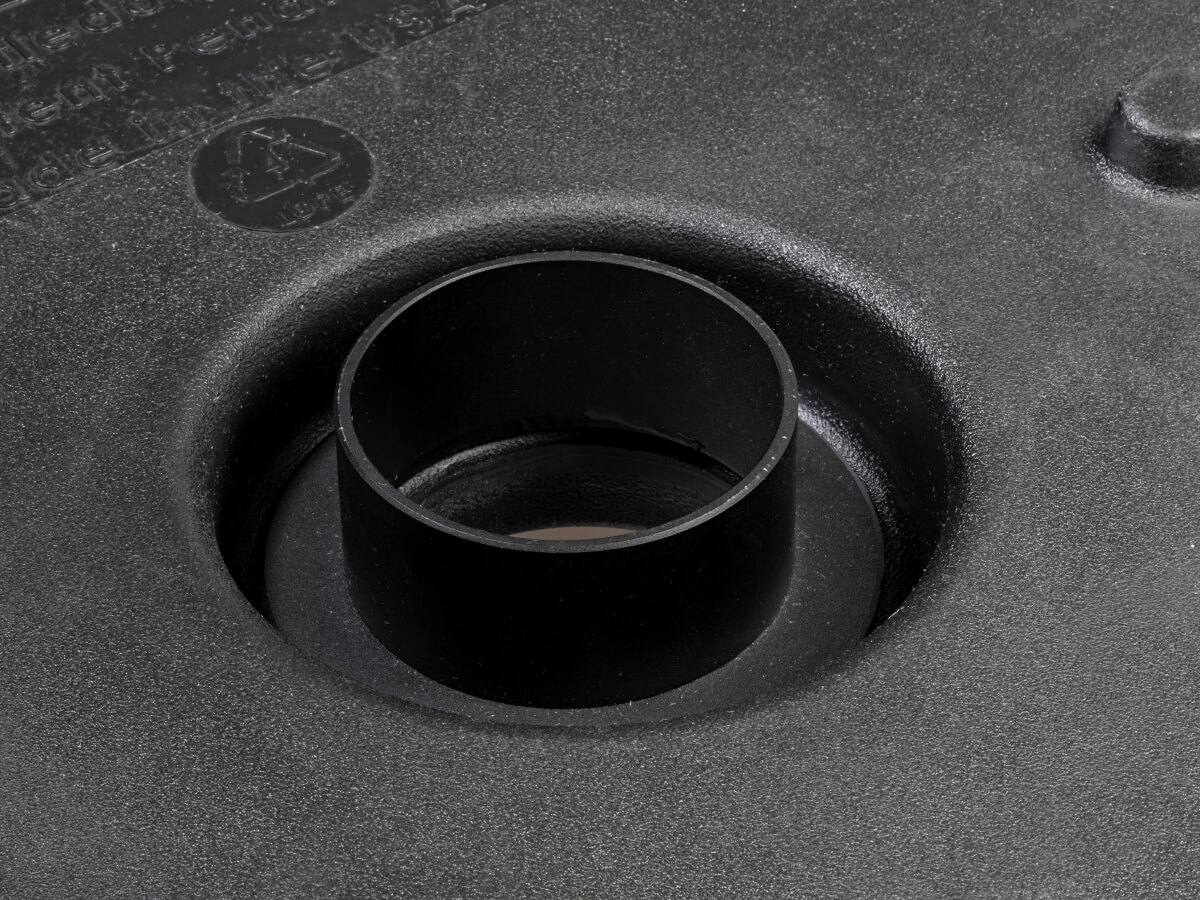
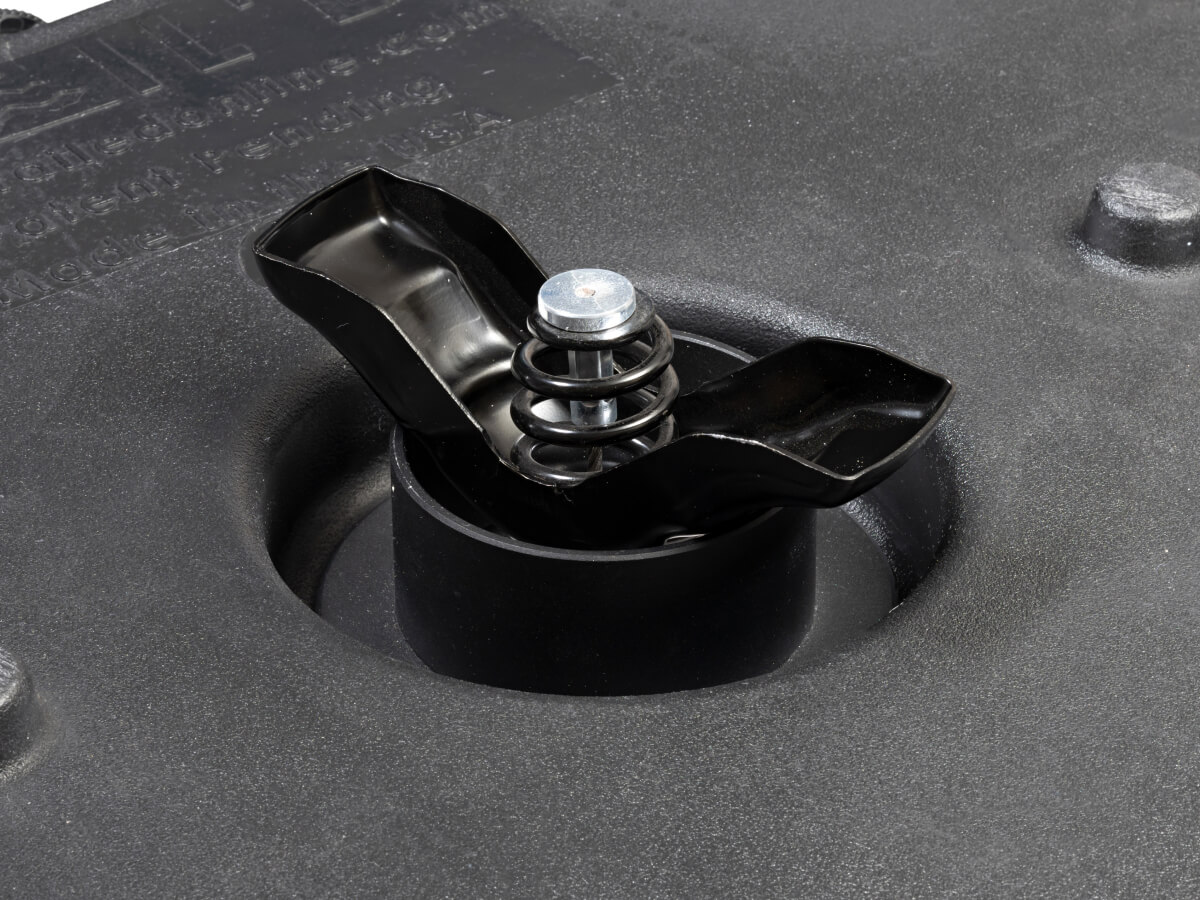
Step 3: Attach the tank to the hoist: Position the Trail’d tank correctly and insert the metal support plate into the tank opening as you would with the OEM spare tire. Ensure there’s tension on the chain to prevent slipping. If stacking multiple tanks, align the tabs and slots to lock them in place. Flatten the small tab on the right side of the hoist for easier installation and added safety.
Step 4: Lift and secure the tank: Turn the hoist tool clockwise at its designated location to tighten the chain and lift the tank into position. Tighten until the tank is firmly seated against the cross member.
Remember, installing additional tanks will reduce ground clearance. For a neater appearance and to prevent the chain from snagging, use zip ties to secure any slack in the hoist chain.
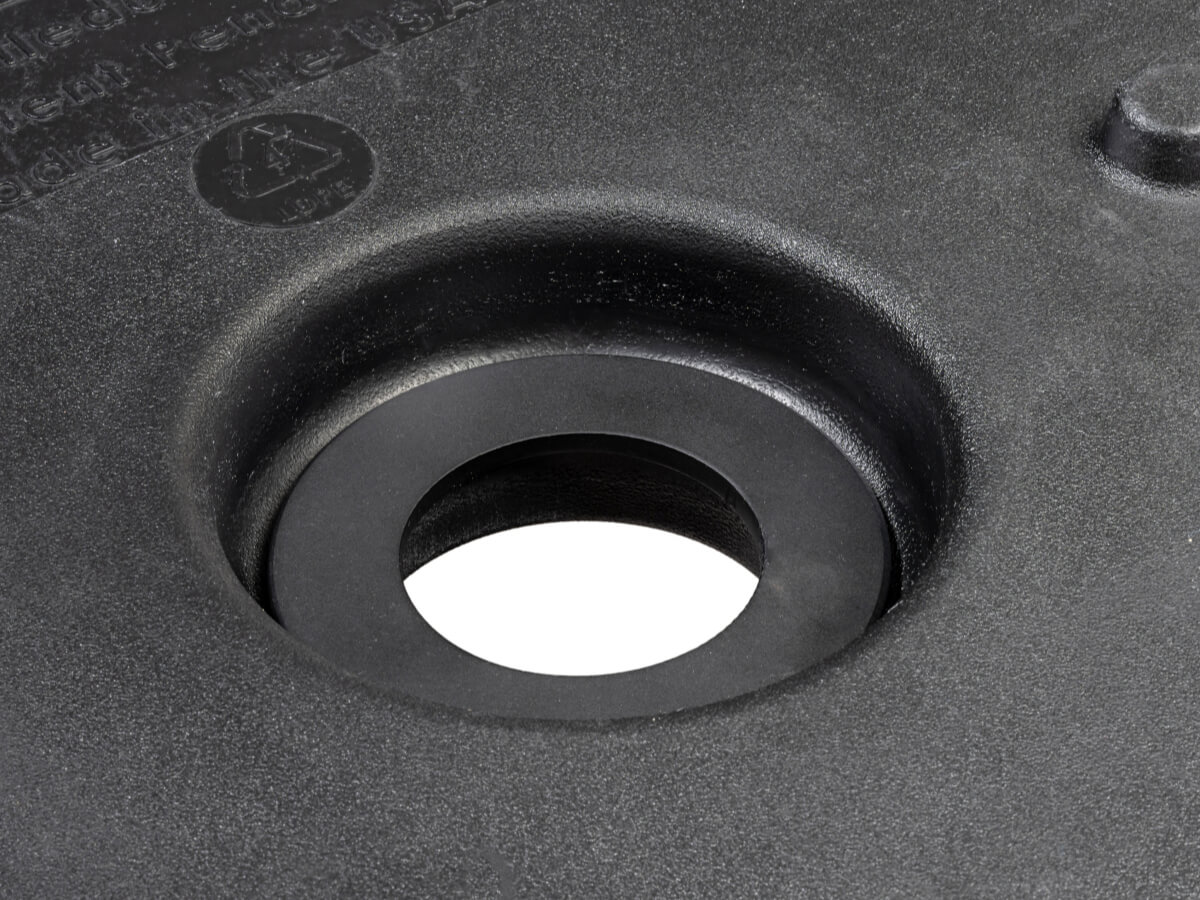
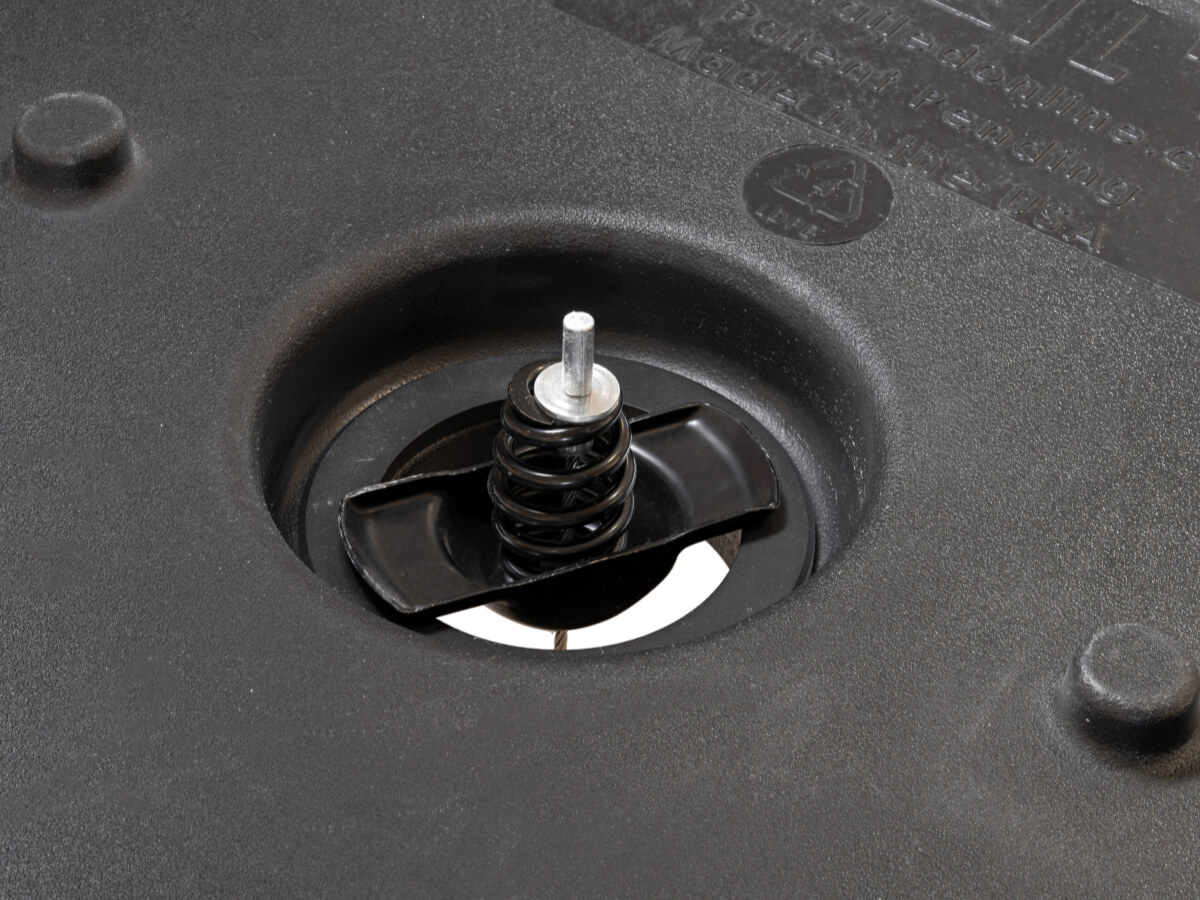
NOTE: If not using a mounting ring you will want to bend down the tab that locks into the spare wheel stud hole – this will prevent it from rubbing or damaging the tank when you are securing it into place – this is also explained in step 3 above but worth mentioning twice.
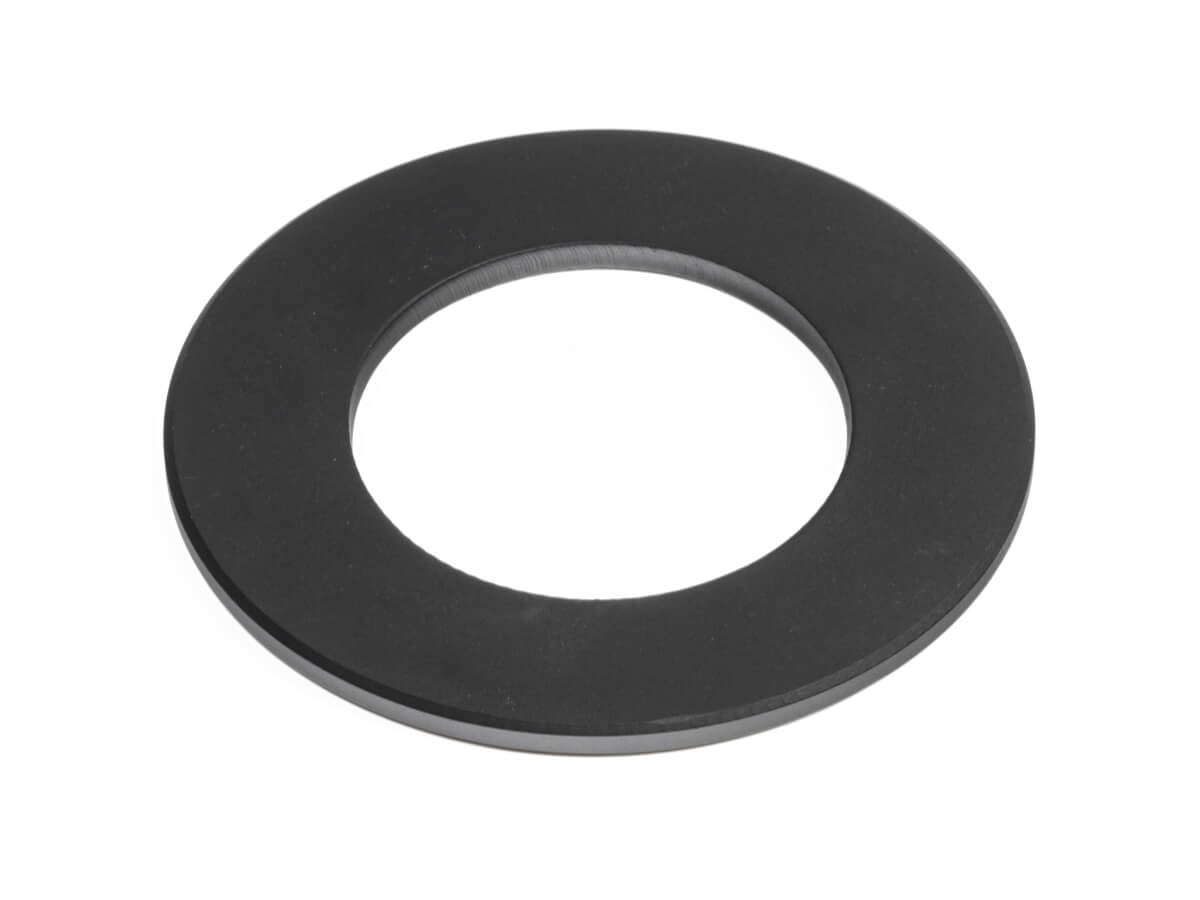
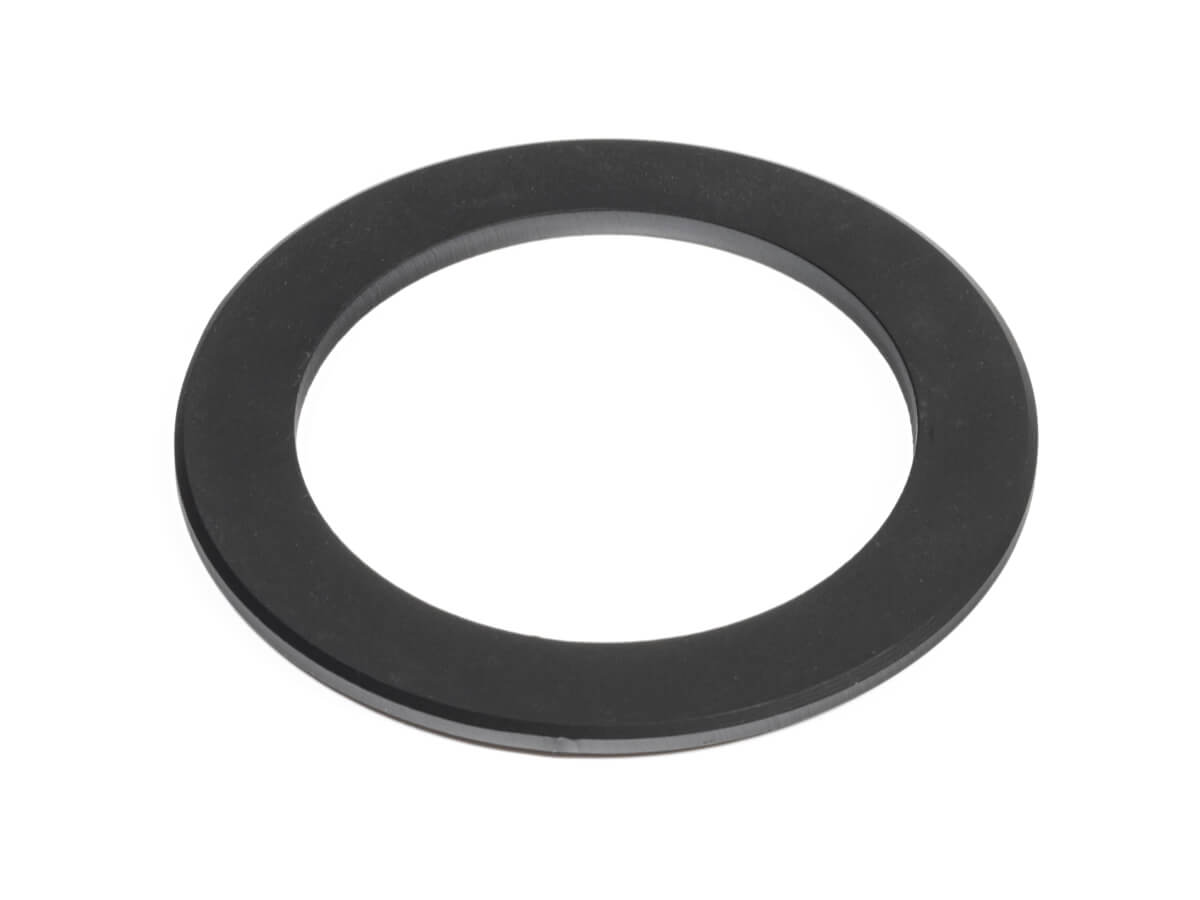
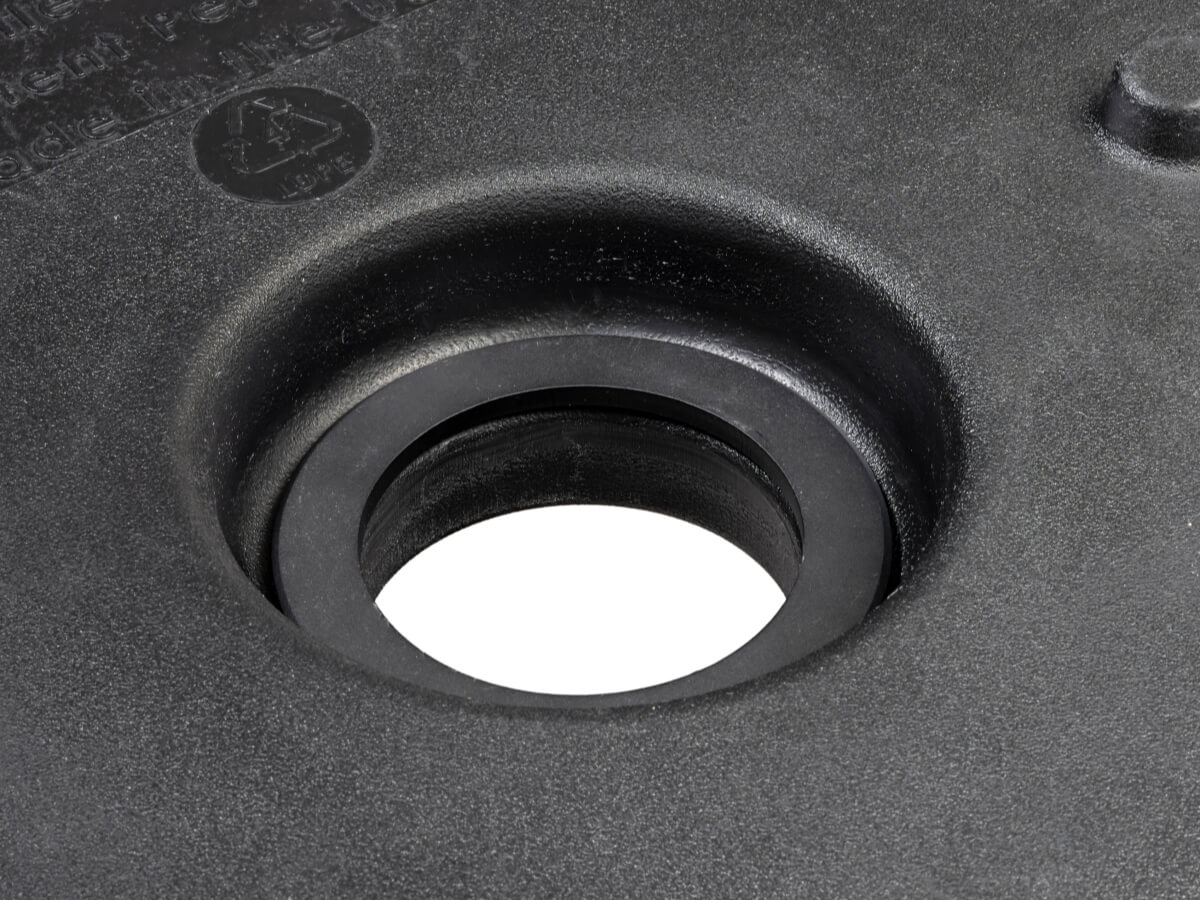
Or… you can use a mounting ring to make it easier. Click here to view the mounting rings specifically designed for the Trail’d tank.
If you still wish to bend the tab that locks into the spare wheel stud hole while using a mounting ring you can do so without issues.